Understanding the Exposure Triangle
Exposure, likened to a triangle of ISO, shutter speed, and aperture, balances light and stylistic choices for impactful images, often aided by charts.
Aperture, shutter speed, and ISO form the core of photographic exposure, each playing a crucial, interconnected role in capturing light and defining image characteristics. Understanding these three elements is fundamental to moving beyond automatic settings and achieving creative control. Aperture controls the size of the lens opening, influencing both the amount of light reaching the sensor and the depth of field – how much of the image appears in focus.
Shutter speed dictates how long the sensor is exposed to light, impacting motion capture; faster speeds freeze action, while slower speeds create motion blur. Finally, ISO measures the sensor’s sensitivity to light; higher ISO values are useful in low-light situations but can introduce image noise or grain. Mastering these three, often visualized through aperture shutter speed ISO chart PDFs, allows photographers to balance exposure and artistic intent.
The Interrelationship of the Three Elements
The beauty of the exposure triangle lies in its interconnectedness. Altering one element necessitates adjustments to the others to maintain proper exposure. Increasing ISO allows for faster shutter speeds or narrower apertures in low light, but introduces noise. Widening the aperture lets in more light, enabling faster shutter speeds or lower ISOs, but reduces depth of field. Lengthening the shutter speed increases light exposure, useful in dark scenes, but risks motion blur.
Aperture shutter speed ISO chart PDFs visually demonstrate these relationships, offering quick references for balancing settings. They aren’t rigid rules, but starting points. Photographers creatively manipulate these elements – prioritizing depth of field, freezing motion, or minimizing noise – while compensating with the others to achieve a balanced, well-exposed image. Understanding this interplay unlocks true photographic control.
Aperture: Controlling Depth of Field and Light
Aperture, measured in f-stops, governs light intake and depth of field; charts help visualize its impact alongside shutter speed and ISO settings.
What is Aperture? (f-stop numbers)
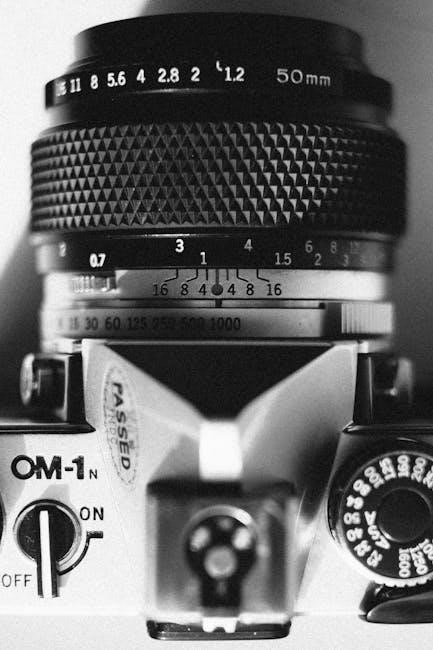
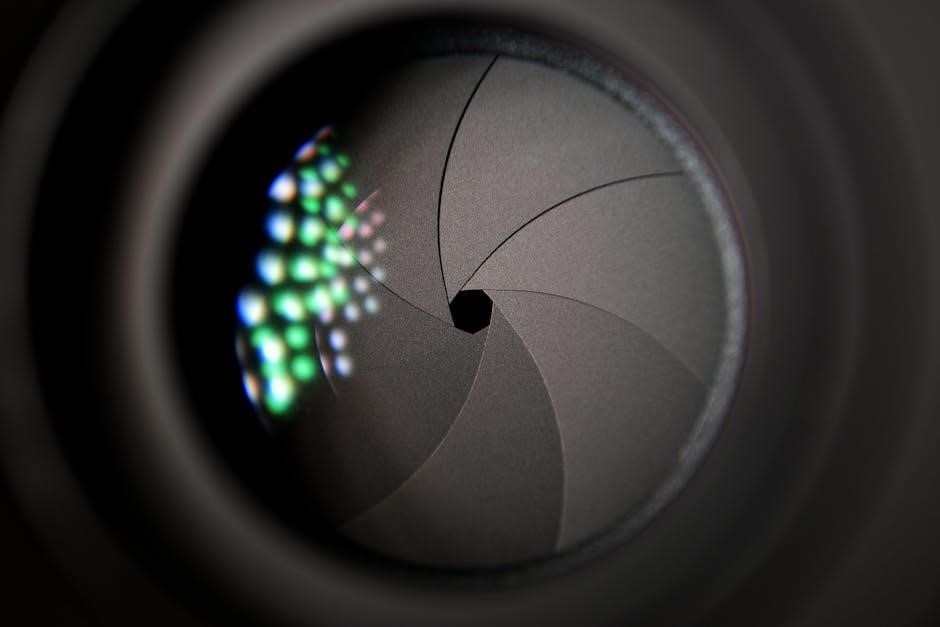
Aperture refers to the opening within a camera lens that controls the amount of light reaching the image sensor. It’s expressed using f-stop numbers – like f/1.4, f/2.8, f/5.6, and so on. These numbers can seem counterintuitive: a smaller f-stop number (e.g., f/1.4) indicates a wider aperture opening, allowing more light to enter. Conversely, a larger f-stop number (e.g., f/22) signifies a narrower opening, letting in less light.
Understanding these numbers is crucial for proper exposure. Charts illustrating aperture, shutter speed, and ISO relationships visually demonstrate how adjusting the f-stop impacts brightness. A wider aperture (smaller f-number) is beneficial in low-light situations, while a narrower aperture (larger f-number) is useful in bright conditions. These charts often show common f-stop ranges and their corresponding effects on light levels, aiding photographers in making informed decisions.
The aperture directly influences depth of field, the area of the image that appears sharp. Wider apertures create shallow depth of field, ideal for isolating subjects, while narrower apertures yield greater depth of field, keeping more of the scene in focus.
Aperture and Depth of Field Explained
Depth of field (DOF) is the distance between the nearest and farthest objects in a scene that appear acceptably sharp in an image. Aperture is a primary control over DOF. A wide aperture (small f-number like f/1.8) creates a shallow depth of field, blurring the background and foreground, effectively isolating the subject. This is often used in portraiture.
Conversely, a narrow aperture (large f-number like f/16) results in a large depth of field, bringing more of the scene into focus – ideal for landscapes. Aperture, shutter speed, and ISO charts often visually represent this relationship, showing how different f-stop values affect the area of sharpness.
Understanding DOF is crucial for creative control. Photographers use aperture to draw attention to specific elements, create mood, and guide the viewer’s eye. PDF resources and charts can help visualize these effects, demonstrating how aperture choices impact the overall aesthetic of an image. Mastering aperture allows for intentional control over what is sharp and what is blurred.
Aperture’s Impact on Image Brightness
Aperture directly influences image brightness by controlling the amount of light reaching the camera sensor. A wider aperture (smaller f-number, e.g., f/2.8) allows more light to enter, resulting in a brighter image. This is beneficial in low-light situations, reducing the need for higher ISO or slower shutter speeds.
Conversely, a narrower aperture (larger f-number, e.g., f/16) restricts light, creating a darker image. This might be desired for specific creative effects or when shooting in bright conditions. Aperture, shutter speed, and ISO charts commonly illustrate this relationship, showing how each aperture setting affects exposure.
PDF guides often demonstrate how to adjust aperture to achieve proper exposure alongside other settings. Understanding this impact is vital for achieving well-exposed photographs. Manipulating aperture for brightness is a fundamental skill, often visualized through exposure charts, enabling photographers to balance light and creative intent.
Shutter Speed: Capturing Motion and Light
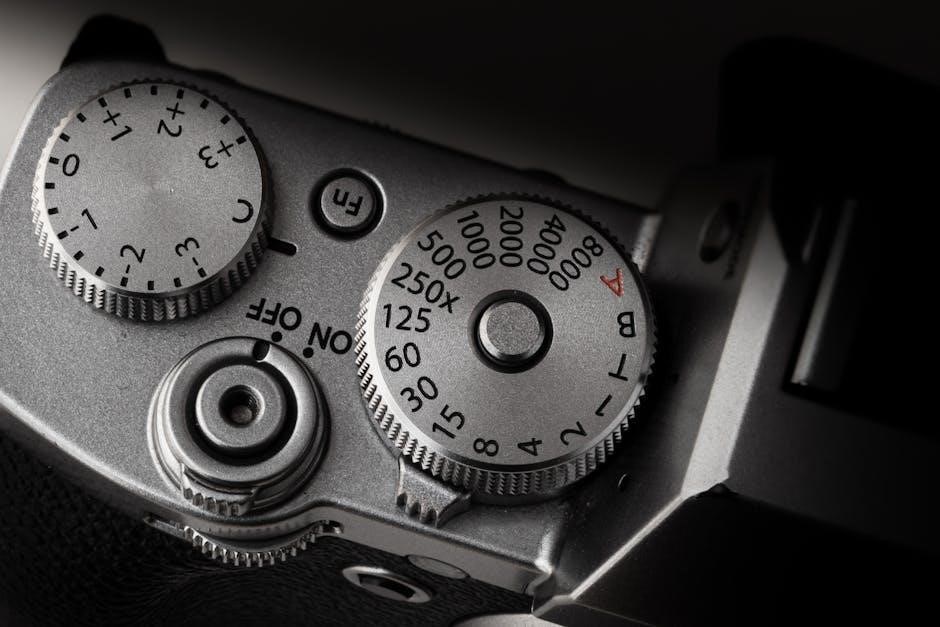
Shutter speed, measured in seconds or fractions thereof, controls exposure duration and affects motion depiction, often visualized alongside aperture and ISO on charts.
What is Shutter Speed? (fractions of a second)
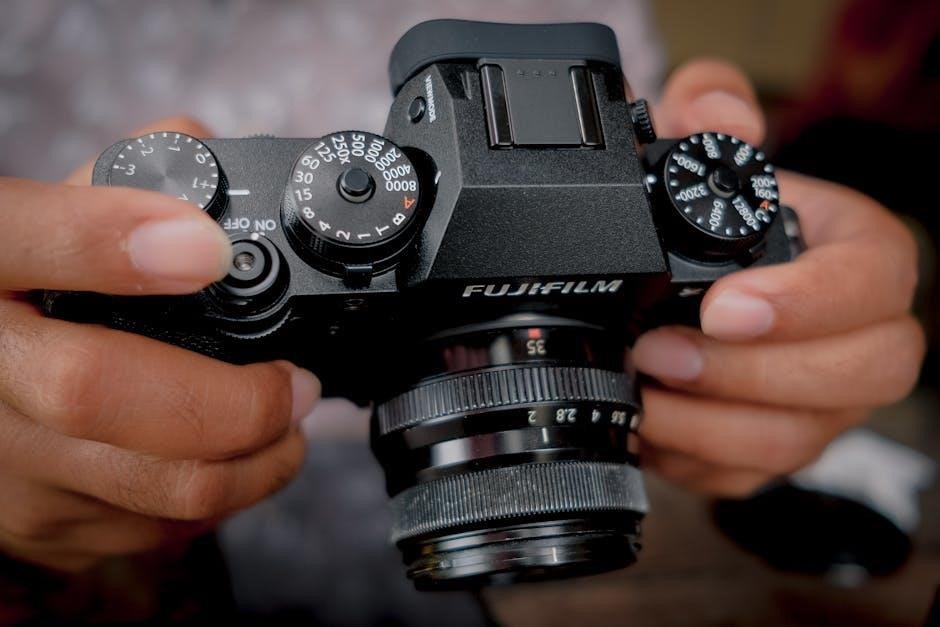
Shutter speed defines how long the camera’s sensor is exposed to light, fundamentally impacting brightness and motion portrayal. Measured in seconds, or more commonly, fractions of a second (like 1/200th, 1/60th, or 1 second), it dictates the duration of light capture. A faster shutter speed – a smaller fraction – freezes motion, ideal for sports or wildlife photography, preventing blur. Conversely, a slower shutter speed – a larger fraction or whole seconds – allows more light in, creating motion blur, useful for artistic effects like light trails or conveying movement.
Understanding shutter speed is crucial when considering the exposure triangle alongside aperture and ISO. Charts illustrating these relationships are invaluable tools. For instance, a chart might show that to maintain proper exposure while increasing shutter speed to freeze action, you might need to widen the aperture or increase ISO to compensate for the reduced light intake. These charts visually demonstrate how adjusting one setting necessitates adjustments to others, ensuring a balanced and well-exposed photograph.
Shutter Speed and Motion Blur/Freezing Action
Shutter speed’s primary creative effect lies in its ability to either freeze motion or introduce motion blur. Fast shutter speeds (e.g., 1/500th of a second or faster) effectively “stop” action, capturing sharp images of moving subjects – crucial for sports or wildlife. Conversely, slower shutter speeds (e.g., 1/30th of a second or slower) allow movement to register as blur, conveying a sense of speed or dynamism.
Aperture and ISO play vital roles in balancing this effect. If you want to freeze action in low light, you’ll likely need to widen the aperture (lower f-stop) and/or increase ISO to compensate for the faster shutter speed’s reduced light intake. Exposure charts visually represent these trade-offs. They demonstrate how different combinations of shutter speed, aperture, and ISO impact the final image, helping photographers choose settings that achieve both technical correctness and artistic intent. Understanding these relationships, often visualized in a chart, is key to mastering photographic control.
Shutter Speed’s Impact on Image Brightness
Shutter speed directly influences image brightness; a longer exposure time (slower shutter speed) allows more light to reach the camera sensor, resulting in a brighter image. Conversely, a shorter exposure time (faster shutter speed) lets in less light, creating a darker image. This relationship is fundamental to the exposure triangle, alongside aperture and ISO.
Exposure charts effectively illustrate this impact. They demonstrate how doubling the exposure time (e.g., from 1/100th to 1/50th of a second) increases brightness by one stop. Photographers utilize these charts to quickly determine appropriate settings for varying lighting conditions. Balancing shutter speed with aperture and ISO is crucial for achieving proper exposure. A chart provides a visual guide, showing how adjustments to one setting necessitate changes to others to maintain consistent brightness. Mastering this interplay, aided by readily available PDF resources, is essential for photographic success.
ISO: Sensitivity to Light and Noise
ISO, or ASA in film, governs image sensor sensitivity; higher values increase light capture but introduce graininess, visualized on exposure charts and PDFs.
What is ISO? (ASA in film photography)
ISO, in digital photography, measures the sensitivity of your camera’s image sensor to light. Historically, in film photography, this was known as ASA – American Standards Association. Essentially, it dictates how much light the camera needs to produce a properly exposed image.
A lower ISO value (like 100 or 200) means the sensor is less sensitive, requiring more light for a good exposure. This results in cleaner images with less noticeable grain or noise. Conversely, a higher ISO (like 1600, 3200, or even higher) makes the sensor more sensitive, allowing you to shoot in darker conditions.
However, increasing the ISO comes with a trade-off: increased image noise. This manifests as graininess or speckling in your photos, reducing clarity and detail. Understanding this relationship is crucial for balancing exposure and image quality. Exposure charts and PDFs often visually demonstrate this trade-off, helping photographers choose the optimal ISO setting for various shooting scenarios.
Therefore, ISO is a fundamental element of the exposure triangle, directly impacting both the brightness and the visual texture of your photographs.
ISO and Image Noise/Grain
The relationship between ISO and image quality is a critical consideration for photographers. As you increase the ISO setting to enhance light sensitivity, a corresponding increase in image noise, often perceived as grain, becomes apparent. This is due to the amplification of the signal from the camera’s sensor, which also amplifies any imperfections or random variations.
In film photography, this grain was a natural characteristic of the film stock, with higher ASA ratings generally producing more noticeable grain. Digital sensors exhibit a similar effect, though the nature of the noise differs. Higher ISO settings can lead to a loss of fine detail and color accuracy.
Exposure charts and ISO charts often visually illustrate this trade-off, showing how noise levels increase with higher ISO values. While noise reduction software can mitigate some of this effect, it often comes at the cost of further detail loss. Therefore, photographers strive to use the lowest ISO possible while still achieving a proper exposure.
ISO’s Impact on Image Brightness
ISO directly influences image brightness by controlling the sensor’s sensitivity to light. Increasing the ISO value effectively amplifies the incoming signal, resulting in a brighter image, even in low-light conditions. This is particularly useful when you need faster shutter speeds or narrower apertures than would otherwise be possible to achieve a proper exposure.
However, this increased brightness comes with a trade-off: the introduction of image noise or grain. Think of it as boosting a weak signal – while it becomes clearer, the background static also becomes more prominent. Exposure charts often demonstrate this relationship, showing how doubling the ISO doubles the image brightness.
Understanding this impact is crucial when using aperture, shutter speed, and ISO charts. These charts help visualize how adjusting ISO affects not only brightness but also overall image quality, guiding photographers toward optimal settings for various shooting scenarios.
Exposure Charts and Guides
Charts visually represent the interplay of aperture, shutter speed, and ISO, aiding photographers in achieving proper exposure and desired stylistic effects efficiently.
Understanding Aperture, Shutter Speed, and ISO Charts
Exposure charts, often available as PDF resources, are invaluable tools for photographers seeking to master the exposure triangle. These charts typically present a range of aperture settings (f-stops), corresponding shutter speeds (in fractions of a second), and ISO values, illustrating how adjustments to each element impact overall exposure.
They aren’t rigid rules, but rather starting points, demonstrating how to achieve a properly exposed image under various lighting conditions. Charts often categorize scenarios – bright sunlight, cloudy days, indoor lighting – providing suggested settings. Understanding that increasing any one element allows for decreasing another is key. For example, a higher ISO allows for a faster shutter speed or a narrower aperture.
These guides help visualize the relationship between these three settings, enabling photographers to make informed decisions and achieve both technically sound and creatively expressive photographs. They are particularly useful for beginners learning the fundamentals of exposure, but even experienced photographers can benefit from quick reference.
Using Charts for Different Shooting Scenarios (Landscape, Portrait, Sports)
Exposure charts become truly powerful when applied to specific shooting scenarios. For landscape photography, prioritize depth of field with a narrower aperture (higher f-stop) and a slower shutter speed, often utilizing a low ISO to maintain image quality.
Portrait photography benefits from a wider aperture (lower f-stop) to create a shallow depth of field, blurring the background and isolating the subject. Shutter speed should be fast enough to avoid motion blur, and ISO adjusted accordingly.
Sports photography demands a fast shutter speed to freeze action, often requiring a wider aperture to compensate for the limited light and a higher ISO to maintain brightness. Charts provide a starting point, but understanding the creative goals for each scenario is crucial. Remember, these are guidelines, and artistic vision should always take precedence.
Creating a Personalized Exposure Cheat Sheet
While general exposure charts are helpful, a personalized cheat sheet tailored to your shooting style and common scenarios is invaluable. Begin by noting typical settings for frequently photographed subjects – landscapes, portraits, or action shots – under various lighting conditions.
Record preferred aperture values for desired depth of field, corresponding shutter speeds to avoid motion blur or freeze action, and acceptable ISO levels before noise becomes distracting. Include notes on exposure compensation adjustments for tricky lighting situations like backlit scenes or snow.
Regularly update your cheat sheet based on experience and experimentation. This iterative process transforms a generic chart into a powerful tool reflecting your unique photographic preferences and ensuring consistent, well-exposed images. Don’t be afraid to annotate with specific lens information too!
Practical Applications & PDF Resources
PDF charts simplify exposure, aiding photographers in mastering aperture, shutter speed, and ISO, while avoiding common mistakes and refining techniques.
Finding and Utilizing Aperture Shutter Speed ISO Chart PDFs
Numerous aperture, shutter speed, and ISO chart PDFs are readily available online, offering a visual guide to achieving proper exposure in diverse shooting scenarios. A quick web search using keywords like “exposure triangle chart PDF” or “photography exposure guide” will yield a wealth of resources. These charts typically present recommended settings for various conditions – bright sunlight, overcast days, indoor lighting, and more.
When utilizing these charts, remember they serve as starting points, not rigid rules. Understanding why certain settings are suggested is crucial. For example, a landscape chart might recommend a narrow aperture (high f-stop number) for greater depth of field, a moderate shutter speed, and a low ISO to minimize noise. Conversely, a sports chart will likely suggest a wider aperture (low f-stop number) to freeze motion, a fast shutter speed, and potentially a higher ISO if light is limited.
Experimentation is key! Don’t hesitate to deviate from the chart’s suggestions based on your artistic vision and the specific nuances of the scene. Regularly reviewing your results and adjusting accordingly will refine your understanding of the exposure triangle and your ability to create compelling images.
Common Exposure Mistakes and How to Avoid Them
A frequent error is relying solely on aperture, shutter speed, and ISO chart PDFs without understanding their interplay. Charts are guides, not automatic solutions; blindly following them can lead to technically correct but creatively flat images. Another mistake is neglecting to consider the scene’s tonal range – bright snow or dark subjects require exposure compensation.
Forgetting to adjust ISO based on lighting conditions is also common. Sticking to a low ISO in dim light results in underexposed images, while a high ISO in bright light can introduce unwanted noise. Similarly, failing to balance aperture and shutter speed leads to either motion blur or insufficient depth of field.
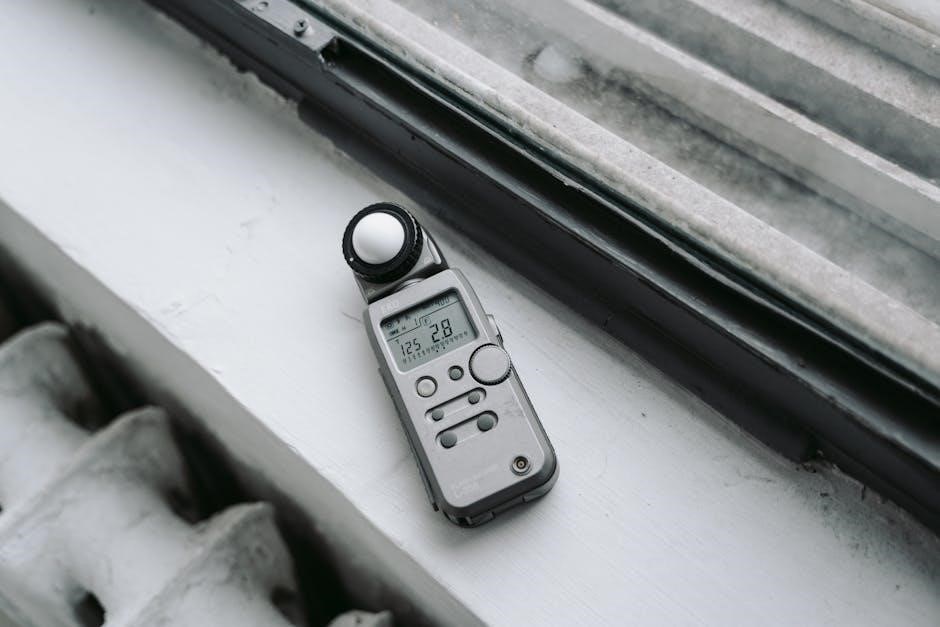
To avoid these pitfalls, practice actively. Review your photos on the camera’s LCD, paying attention to highlights and shadows. Utilize your camera’s histogram to assess exposure accuracy. Regularly consult exposure charts, but always prioritize understanding the fundamental principles and adapting settings to your artistic intent.
Advanced Techniques: Exposure Compensation and Metering Modes
Beyond basic aperture, shutter speed, and ISO adjustments, mastering exposure compensation and metering modes unlocks creative control. Exposure compensation overrides the camera’s suggested exposure, crucial for scenes with challenging lighting – like backlit subjects or snowscapes. Use it to brighten or darken images intentionally.
Metering modes dictate how the camera assesses light. Evaluative/Matrix metering analyzes the entire scene, suitable for general use. Center-weighted metering prioritizes the center, ideal for portraits. Spot metering measures light from a tiny area, perfect for precise exposure in complex scenes. Understanding these modes, often referenced alongside exposure charts, is vital.
Experiment with different modes and compensation values to develop your eye. Don’t be afraid to deviate from the “correct” exposure to achieve a desired mood or effect. Regularly reviewing images and analyzing the impact of these techniques will refine your skills and elevate your photography.